After unpacking all the parts, the first thing I did was to take the "thermal compound" that comes with the heatsink off with isotropl alcohol. There's nothing more annoying than cpus that overheat, which is what tends to happen with heatsinks that use this sorry excuse for a compound. Here is the heatsink ready for the slaughter... after this I smothered my own compund all over the cpu. Pencaps work well for both taking chunks of compound off and lathering them on (hence the red one in this photo):

Then I put the 2 memory sticks into the blue slots. Both the heatsink and the memory need a bit of muscle to install, especially the heatsink.
One thing to watch out for before installing the hard disks/anything else: in the Centurion cases, the wire that connects the fan to the motherboard can get stuck behind the casing easily (see photo below)... make sure that doesn't happen early as it will save you from removing a lot of stuff to get at it later.

Power supply installation is easy, just screw it in. Make sure the proper voltage is set, though, that could burn you later.
Motherboard installation: more screws, a bit of finesse. One way to line the screw holes up with the holes in the motherboard is to lay the motherboard down and take a permanant marker and mark the holes on the other side and then screw in screws in the marked holes. Be sure to bash out that pesky guard over all the USB ports, etc. on the case before you put the motherboard in:

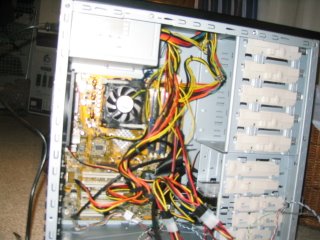
I then slid in the 2 hard drives. With that done, now comes the fun of connecting very very small parts. If my fingers were needlenose pliers, this would be easier. Check your motherboard manual for the details on what goes where. One thing that is always annoying is connecting the led, power, speaker, etc. cables correctly. In any event, it's starting to get a bit hairy in there...

Alright, time for the moment of truth... I turn it on (flip the switch on the back from O to | ) and the motherboard LED lights up, which means it's getting power. That's good. I hit the power button and... everything (fans, LEDs, etc.) seem to be working. Except there's two beeps instead of the healthy one. Hmmm. Time to loan one of my monitors from my current PC to this one to figure out what's going on...
No comments:
Post a Comment